AVR studio is an Integrated Development Environment (IDE) by ATMEL for developing applications based on 8-bit AVR microcontroller. Prior to installation of AVR Studio you have to install the compiler WinAVR. This will allow AVR Studio to detect the compiler
Step 1 :
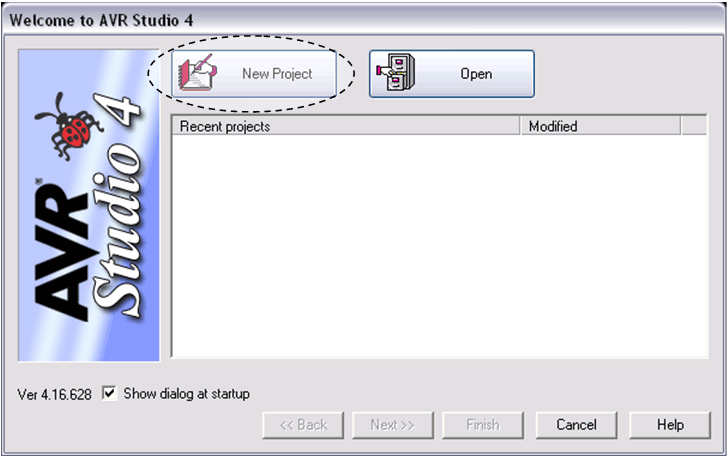
Open Software AVR Studio 4

Step 2 :
Click on New Project
Step 3 :
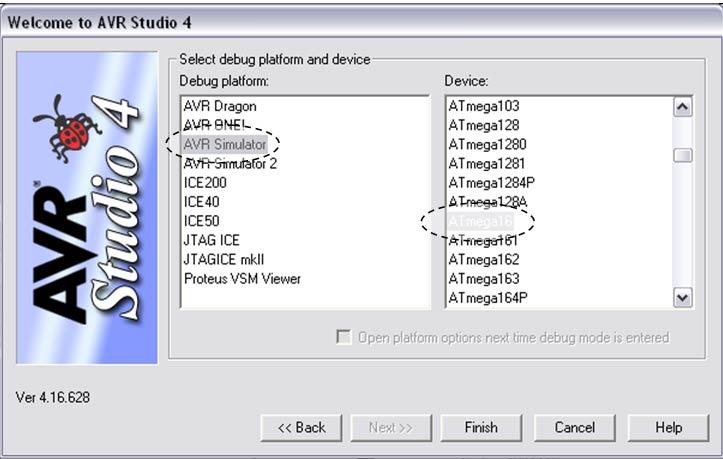
Click on AVR GCC
Write the project name
Select your project location.
Click on Next >>

Step 4 :
Click on AVR Simulator in left block and then select your controller (e.g.: ATmega16).
Click on finish button
Step 5 :
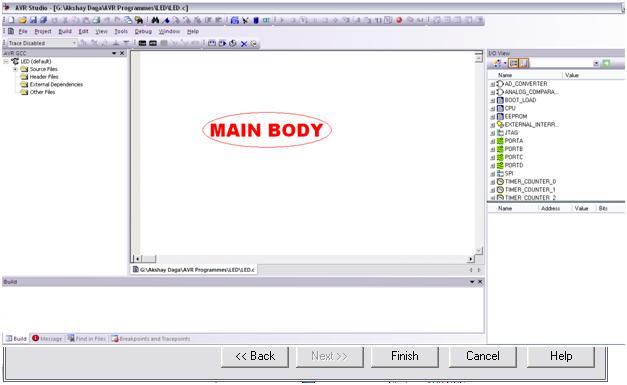
Write the code in main body area.
Save the project file.
Step 6 :
Go to BUILD -> Compile.
This will compile your code and generate error if any.
If there is any, rectify the code and Compile Again.
After Successful Compilation
This will generate hex file of the code.
Use that Hex file to burn your microcontroller.

Where you will find Hex file?
Just
go to the location which you selected at the starting. Open that folder
you will find one more folder named Default. This is the default
location of where the hex file is generated.
While
working in real time if you want to change the code, make changes and
build the file again. This will automatically update the previous hex
file.
Comments
Post a Comment